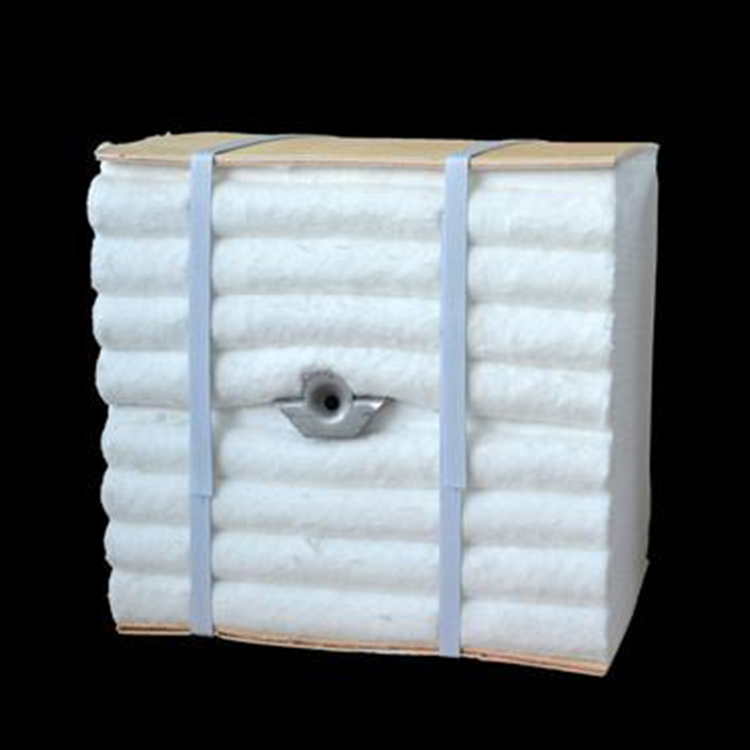
If you're responsible for maintaining high-temperature kilns in cement, ceramics, or steel industries, getting the installation right isn't just best practice—it’s a performance requirement. This guide walks you through every critical step from material selection to long-term maintenance, based on real-world data and industry standards.
Choose bricks with an alumina (Al₂O₃) content between 30% and 46%. For temperatures below 1580°C, 30–35% is sufficient. At 1650°C+, use 40–46% for extended service life. According to ISO 17514, bricks must meet minimum bulk density of 2.4 g/cm³ and compressive strength ≥ 12 MPa at room temperature.
| Application Temperature Range | Recommended Al₂O₃ (%) | Expected Service Life (Years) |
|---|---|---|
| 1580–1650°C | 35–40% | 5–7 years |
| 1650–1770°C | 40–46% | 7–10 years |
Use refractory mortar with low shrinkage (<0.5%) and install bricks in zones: preheater, calciner, and burning zone. Leave expansion joints at 3–5 mm intervals per meter of wall length—this prevents cracking under thermal cycling. In one case study from a European cement plant, improper joint spacing led to 12% faster wear over 18 months.
Set up monthly inspections using visual checks and thermography. If brick surface shows pitting or spalling, measure thickness loss via ultrasonic testing. A 5% reduction in wall thickness typically indicates need for replacement. Also monitor chemical attack—especially from sulfur compounds in fuel gas—which can reduce effective lifespan by up to 30% if unaddressed.

Remember: even minor deviations during installation compound over time. One engineer in India reported that aligning bricks within ±2° tolerance reduced hot spots by 40%, extending furnace uptime by 15%. That’s not just technical precision—it’s operational intelligence.
With rising energy costs and stricter emissions regulations globally, optimizing your kiln lining isn’t optional anymore—it’s central to profitability. Whether you’re managing a single kiln or a full production line, mastering this workflow ensures safety, efficiency, and compliance across markets like North America, Europe, and the Middle East.


